Tip: Start typing in the input box for immediate search results.
-
Getting Started
-
Client area
-
- Search for a domain
- Domain Contact Information - Client Area
- Change Domain Nameservers - Client Area
- Domain Renewal - Client Area
- Domain Redirect - Client Area
- Domain Aliases - Client Area
- Manage Subdomains - Client Area
- Create an Addon domain - Client Area
- Domain Auto Renewal - Client Area
- Transfer a Domain to Extilum as Unregistered User
- Transfer a Domain to Extilum as Registered User — Client Area
- Manage a Domain - Client Area
- Domain Registrar Lock - Client Area
- Get Domain EPP Code - Client Area
- Transfer a Domain from Extilum
- DNS Management - Client Area
- Show all articles ( 1 ) Collapse Articles
-
-
- Manage Privileges for MySQL Database – Client Area
- Manage MySQL Database User - Client Area
- Manage MySQL Databases - Client Area
- Manage FTP Accounts - Client Area
- Create FTP Accounts - Client Area
- Domain Redirect - Client Area
- Domain Aliases - Client Area
- Manage DNS Records with Zone editor - Client Area
- Disk Usage - Client Area
- Manage Backups - Client Area
- File Manager - Client Area
- Use IP Blocker - Client Area
- Change PHP Version - Client Area
- Manage Subdomains - Client Area
- Unban IP Address - Client Area
- Create an Addon domain - Client Area
- Show all articles ( 1 ) Collapse Articles
-
cPanel
-
- Login to cPanel
- Login to cPanel from Extilum Client Area
- The Jupiter Theme Interface - cPanel
- Switch to Paper Lantern - cPanel
- Search - cPanel
- View Server Information for cPanel
- View Statistics - cPanel
- Change Style - cPanel
- Change Language -cPanel
- Change Password - cPanel
- Update Contact Information and Preferences - cPanel
- Add User - User Manager - cPanel
- Edit User in User Manager - cPanel
- Change Password - User Manager - cPanel
- Delete User in User Manager – cPanel
- Log out of cPanel
- Show all articles ( 1 ) Collapse Articles
-
-
-
- Accessing File Manager - cPanel
- File Manager Settings - cPanel
- Create a New File or Folder in File Manager - cPanel
- Rename a file or folder in File Manager - cPanel
- Change Permissions File Manager - cPanel
- Password Protect Directory File Manager - cPanel
- Enable Leech Protection File Manager - cPanel
- Manage indices File Manager - cPanel
- Upload and download files using File Manager - cPanel
- Compress Files using File Manager - cPanel
- Extract Files using File Manager – cPanel
- Delete and Restore in File Manager - cPanel
- Search in File Manager - cPanel
- Copy Files in File Manager - cPanel
- Move Files in File Manager - cPanel
- Edit a File Using File Manager - cPanel
- HTML Editor in File Manager - cPanel
- Show all articles ( 2 ) Collapse Articles
-
- Articles coming soon
-
-
-
-
- MySQL Databases Interface - cPanel
- Add New User to MySQL Databases - cPanel
- Change a MySQL Database User's Password - cPanel
- Rename a MySQL Database User - cPanel
- Create a MySQL Database - cPanel
- Add User to MySQL Database - cPanel
- Check and Repair MySQL Database - cPanel
- Revoke User Privileges from MySQL Database - cPanel
- Delete MySQL Database - cPanel
- Delete MySQL Database User - cPanel
- Manage MySQL Databases - cPanel
-
-
- Install WordPress using Softaculous - cPanel
- Automatically Update WordPress with Softaculous - cPanel
- Backup WordPress using Softaculous - cPanel
- Manage Backup Location Softaculous - cPanel
- Manage WordPress Automated Backups Softaculous - cPanel
- Restore WordPress Backup using Softaculous - cPanel
- Clone WordPress using Softaculous - cPanel
- Stage WordPress Website with Softaculous - cPanel
- Push WordPress From Staging to Live with Softaculous - cPanel
- Remove WordPress using Softaculous - cPanel
-
-
WordPress
-
- Install WordPress using Softaculous - cPanel
- Automatically Update WordPress with Softaculous - cPanel
- Backup WordPress using Softaculous - cPanel
- Manage Backup Location Softaculous - cPanel
- Manage WordPress Automated Backups Softaculous - cPanel
- Restore WordPress Backup using Softaculous - cPanel
- Clone WordPress using Softaculous - cPanel
- Stage WordPress Website with Softaculous - cPanel
- Push WordPress From Staging to Live with Softaculous - cPanel
- Remove WordPress using Softaculous - cPanel
-
- Install WordPress Using the WordPress Toolkit - cPanel
- WordPress Toolkit Updates and Security Status Check - Cpanel
- Manage Updates using WordPress Toolkit - cPanel
- Check WordPress Integrity with the WordPress Toolkit - cPanel
- Manage maintenance mode in the WordPress Toolkit - cPanel
- Stage WordPress with the WordPress Toolkit - cPanel
- Manage Plugins using the WordPress Toolkit - cPanel
- Manage Themes using the WordPress Toolkit - cPanel
- Manage WordPress multiple sites with WordPress Toolkit
- WordPress plugins for multiple sites - WordPress Toolkit
- WordPress Themes for multiple sites – WordPress Toolkit
- Delete or Detach WordPress site – WordPress Toolkit
- Add Existing WordPress Installations to WordPress Toolkit
- WordPress Toolkit Tools - cPanel
- Back up and Restore WordPress - WordPress Toolkit
-
-
Webmail
Stage WordPress Website with Softaculous – cPanel
0 out of 5 stars
| 5 Stars | 0% | |
| 4 Stars | 0% | |
| 3 Stars | 0% | |
| 2 Stars | 0% | |
| 1 Stars | 0% |
Learn How to Stage WordPress Website with Softaculous in cPanel. A WordPress staging site is a test site that you can use to make plugin updates and other changes before going live.
Video tutorial – Stage WordPress Website with Softaculous – cPanel
Tutorial – Stage WordPress Website with Softaculous – cPanel
- Subdomains
Login to cPanel.
Tutorial: login from the Client Area or the direct link.
Find the Domains section and click the Subdomains link.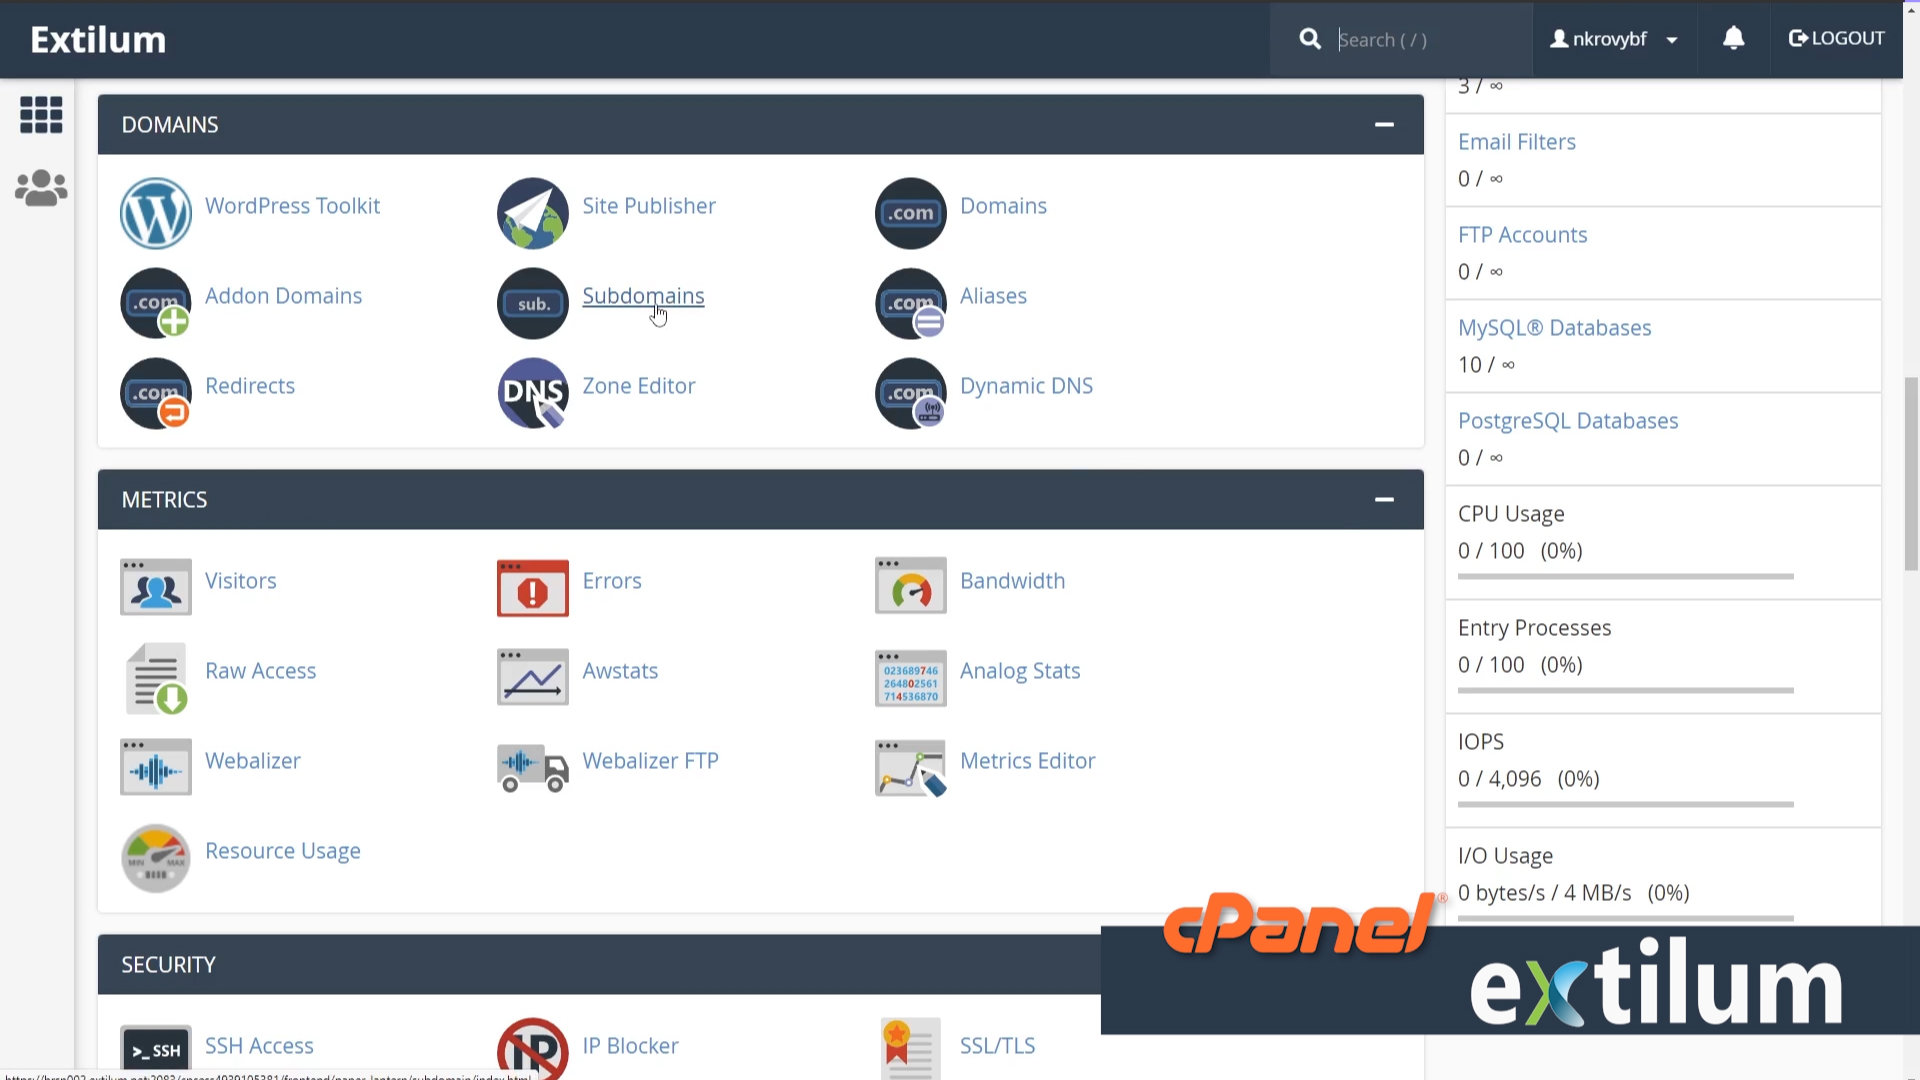
- Create a Subdomain
Subdomain
— type the name of the subdomain you want to create in the Subdomain text box / staging
Domain
— choose the domain name you wish to create a subdomain for from this drop-down menu.
Document Root
cPanel automatically fills in the document root path by using the subdomain name you’ve entered. This path is where the subdomain’s files are stored. If you want to store the subdomain’s files in another directory, enter the full path in the Document Root text box.
Click the Create button.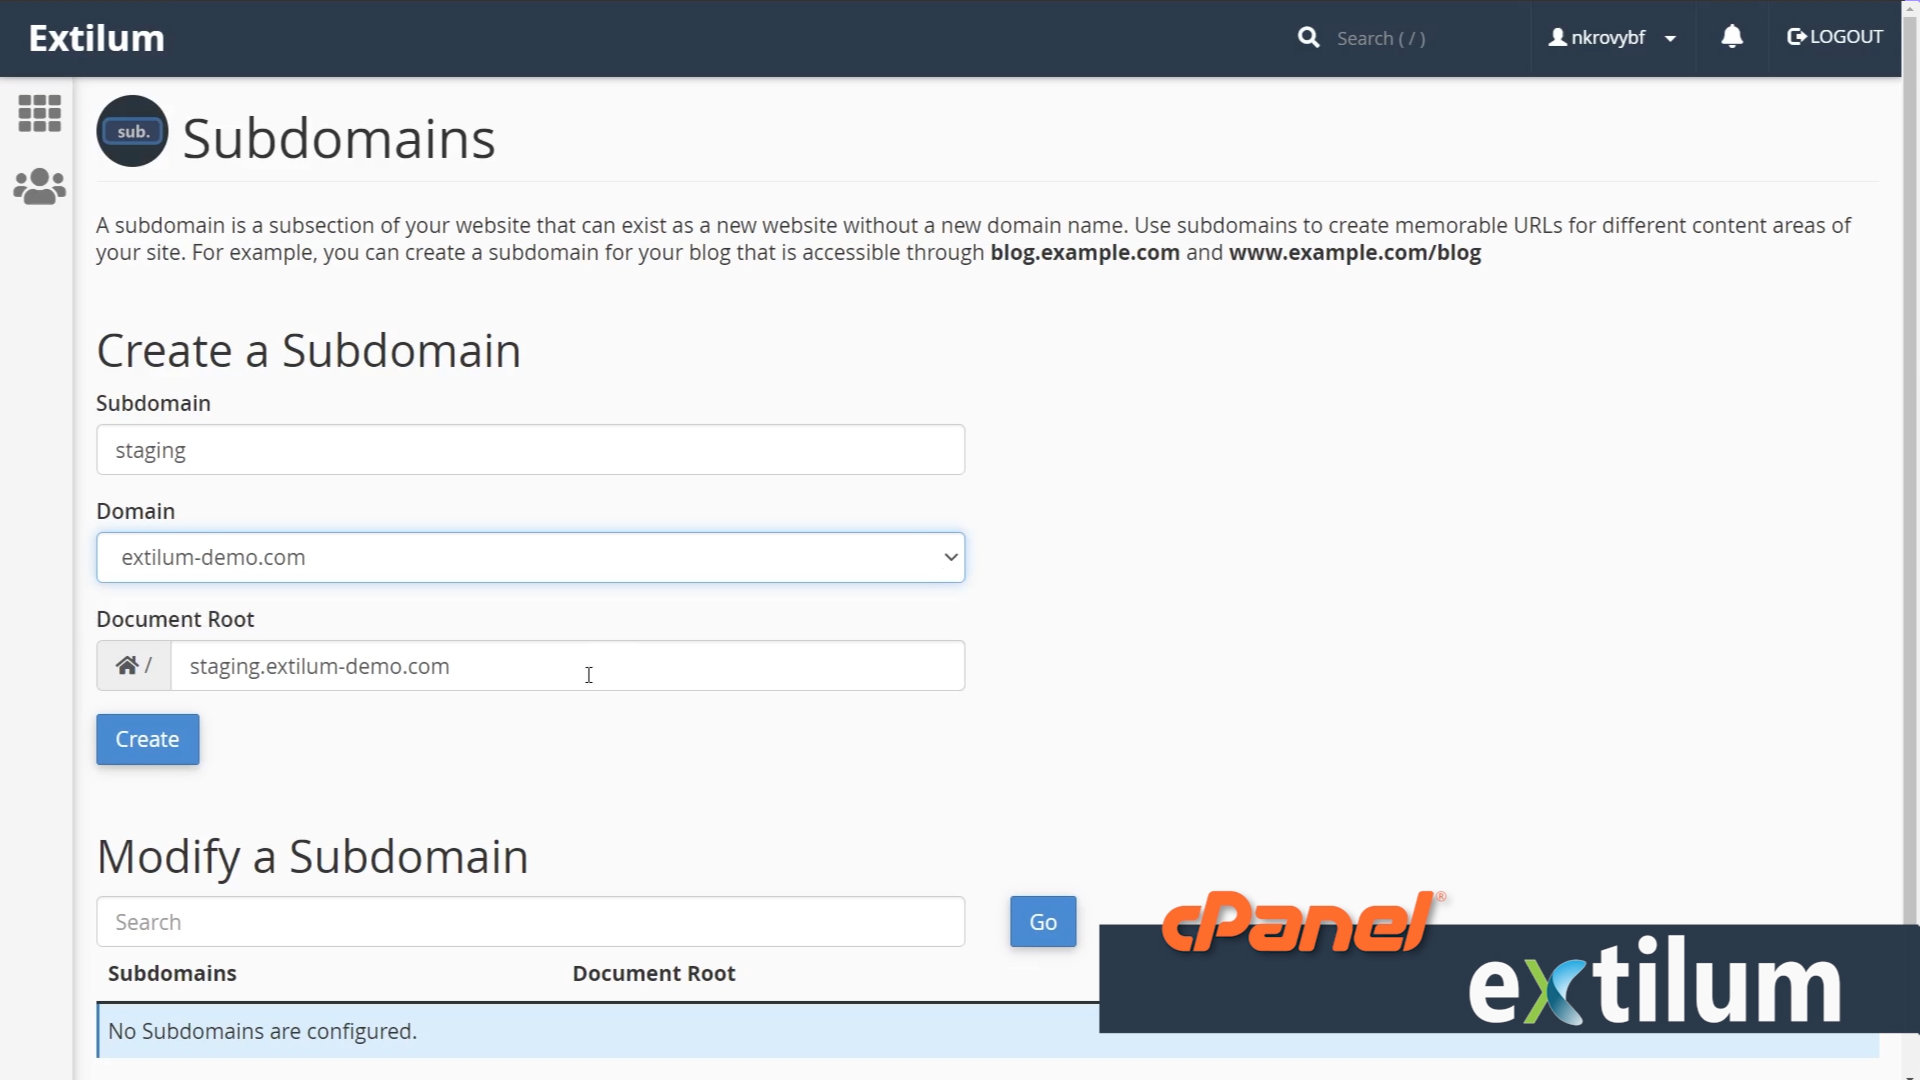
- Let’s Encrypt SSL
Go to cPanel Home.
Find the Security section and click the Let’s Encrypt SSL link.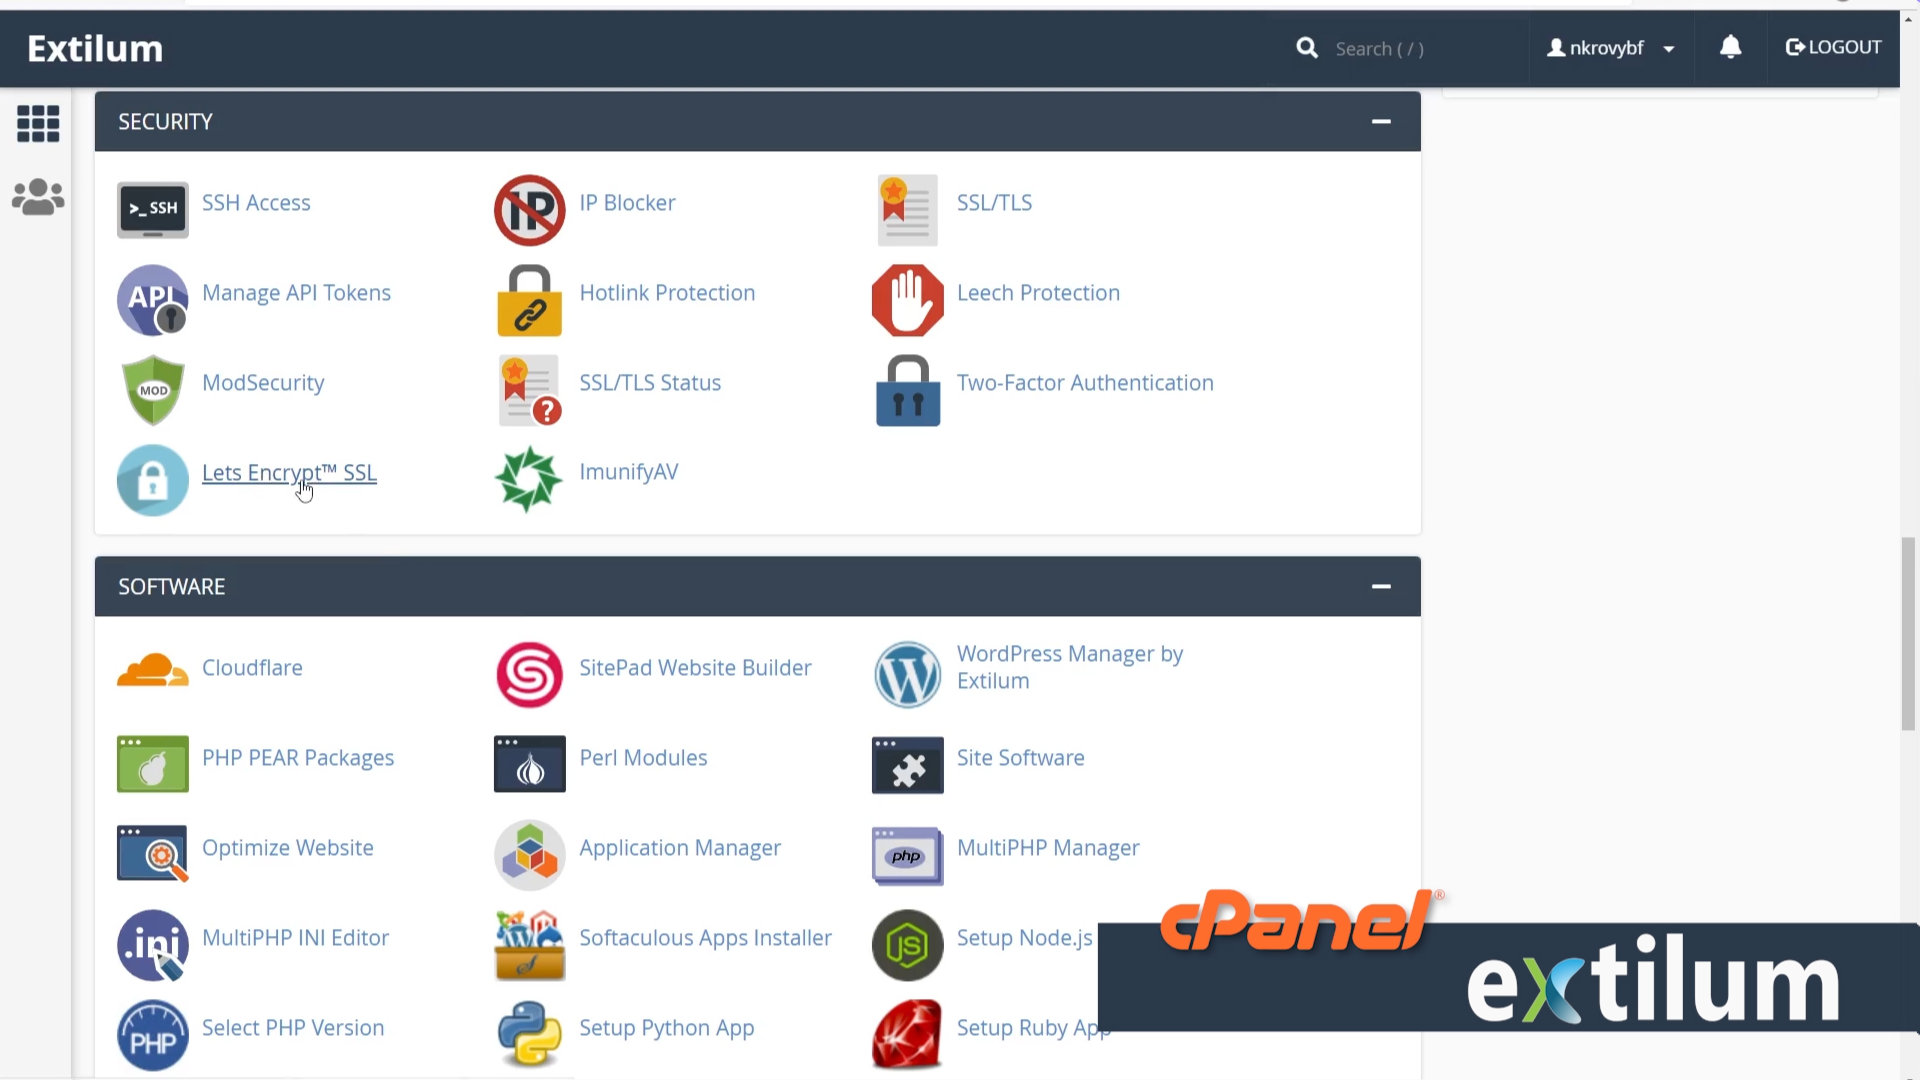
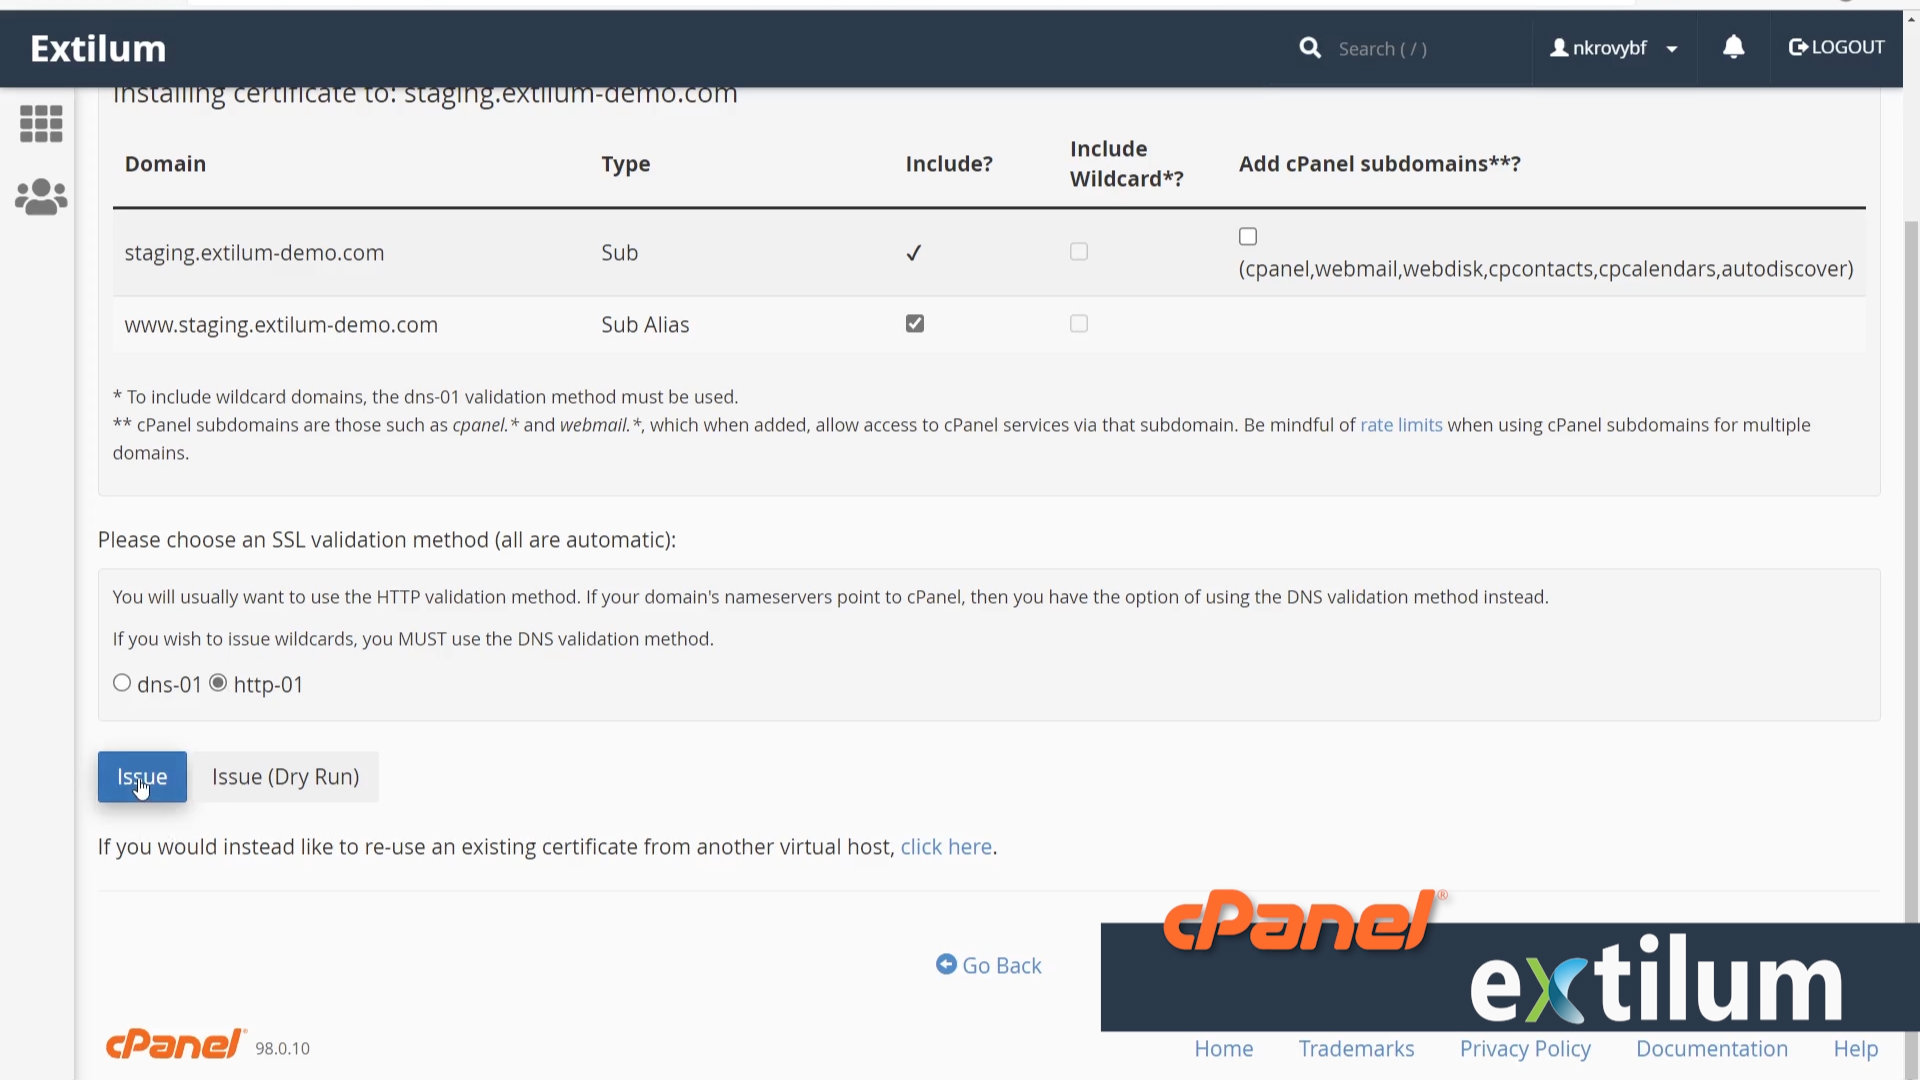
- Issue SSL Certificate
Issue a new certificate
In the Domain list, find the Subdomain you’ve created and Click the +Issue button.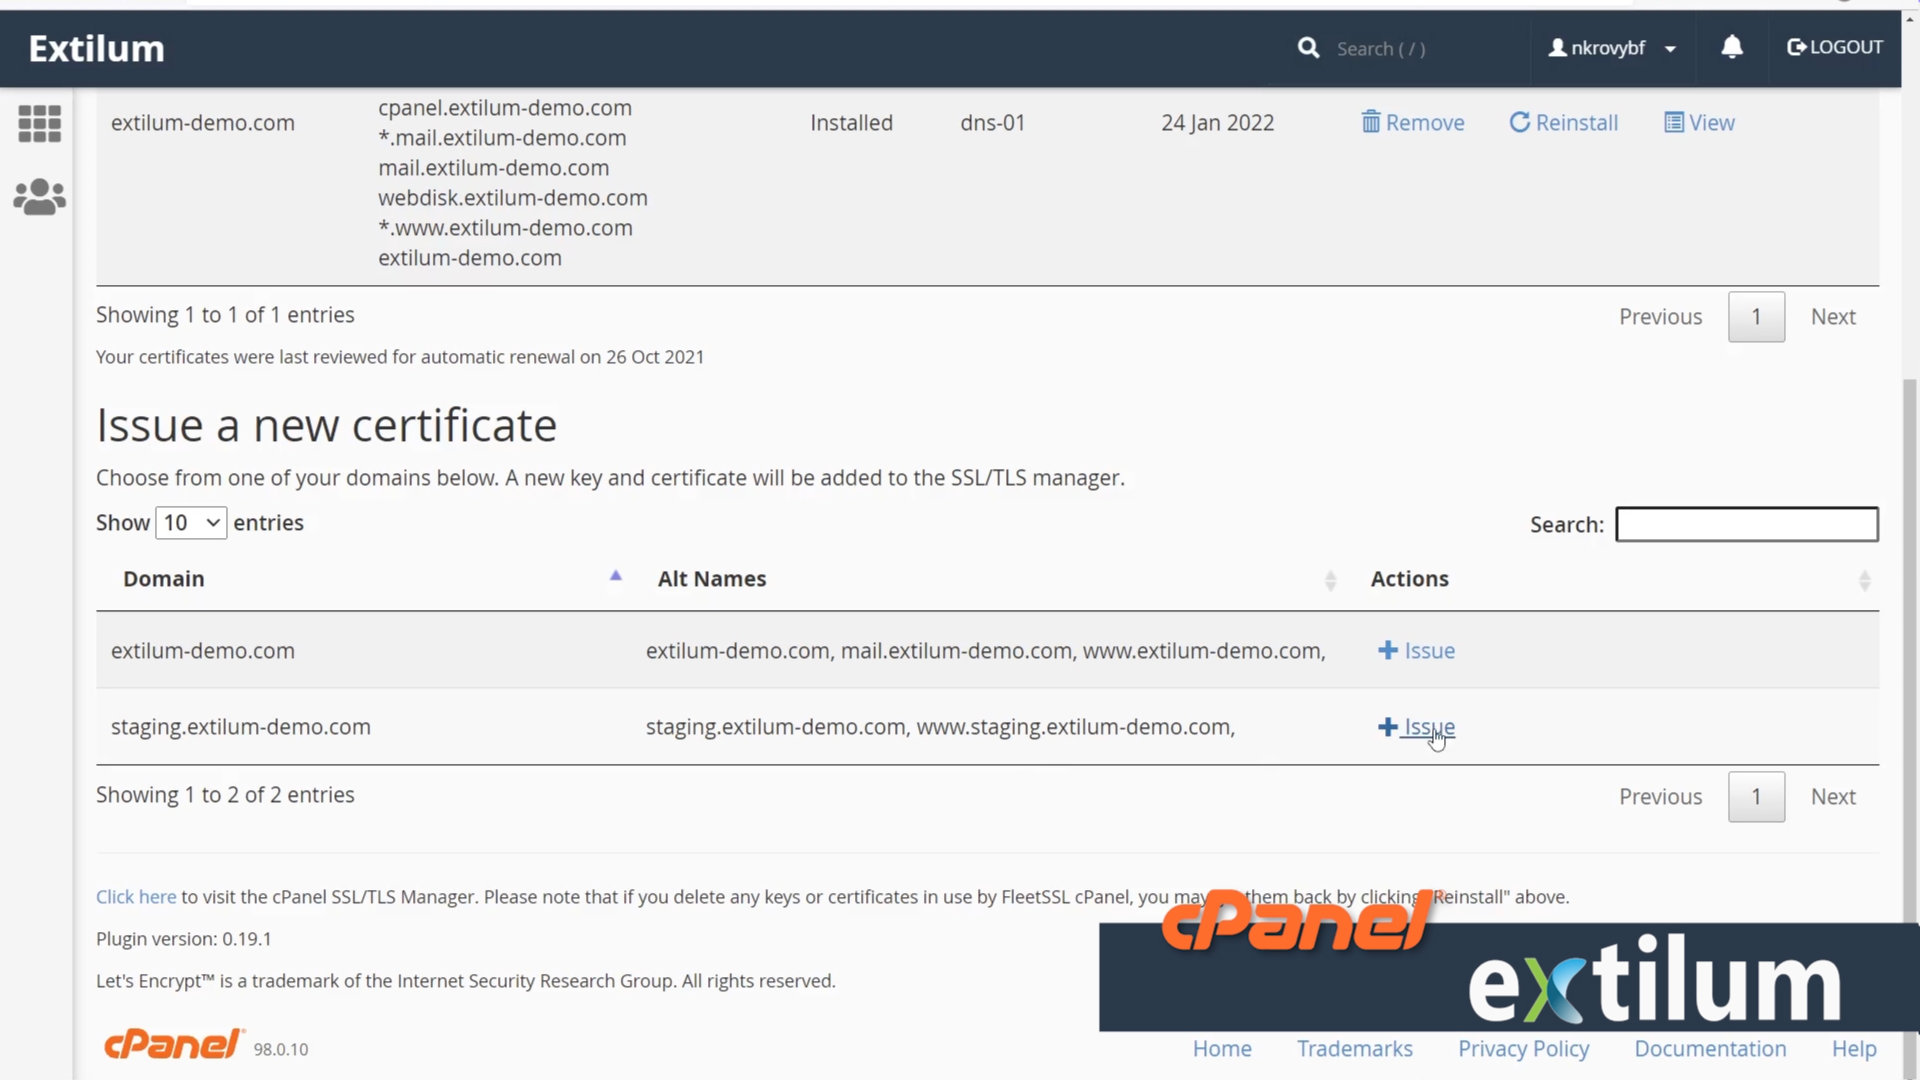
- Issue SSL Certificate
Select all the options and click the Issue button.
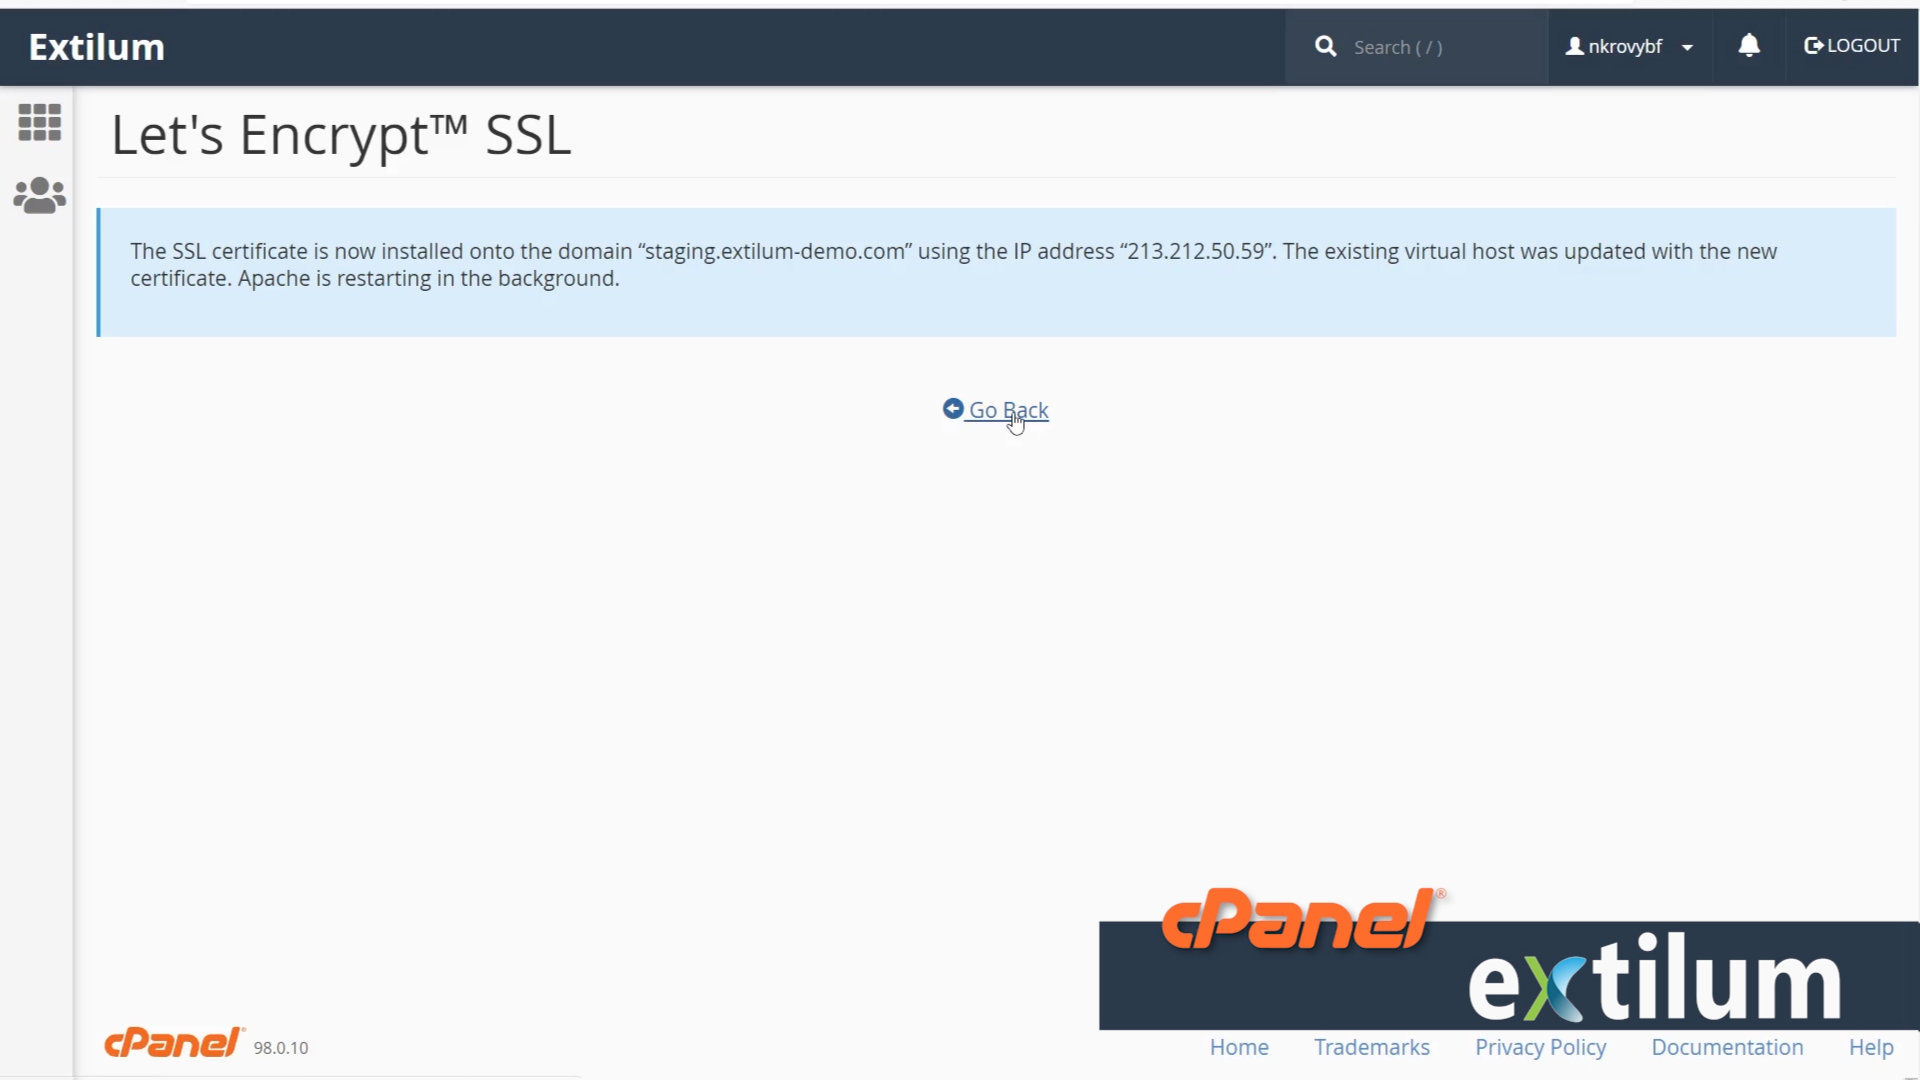
- Wait for the success message.
- Softaculous Apps Installer
Go to cPanel Home.
Find the Software section and click the Softaculous Apps Installer link.
Click the Installations purple button.
or
Click the third icon Installations in the top Task Bar.
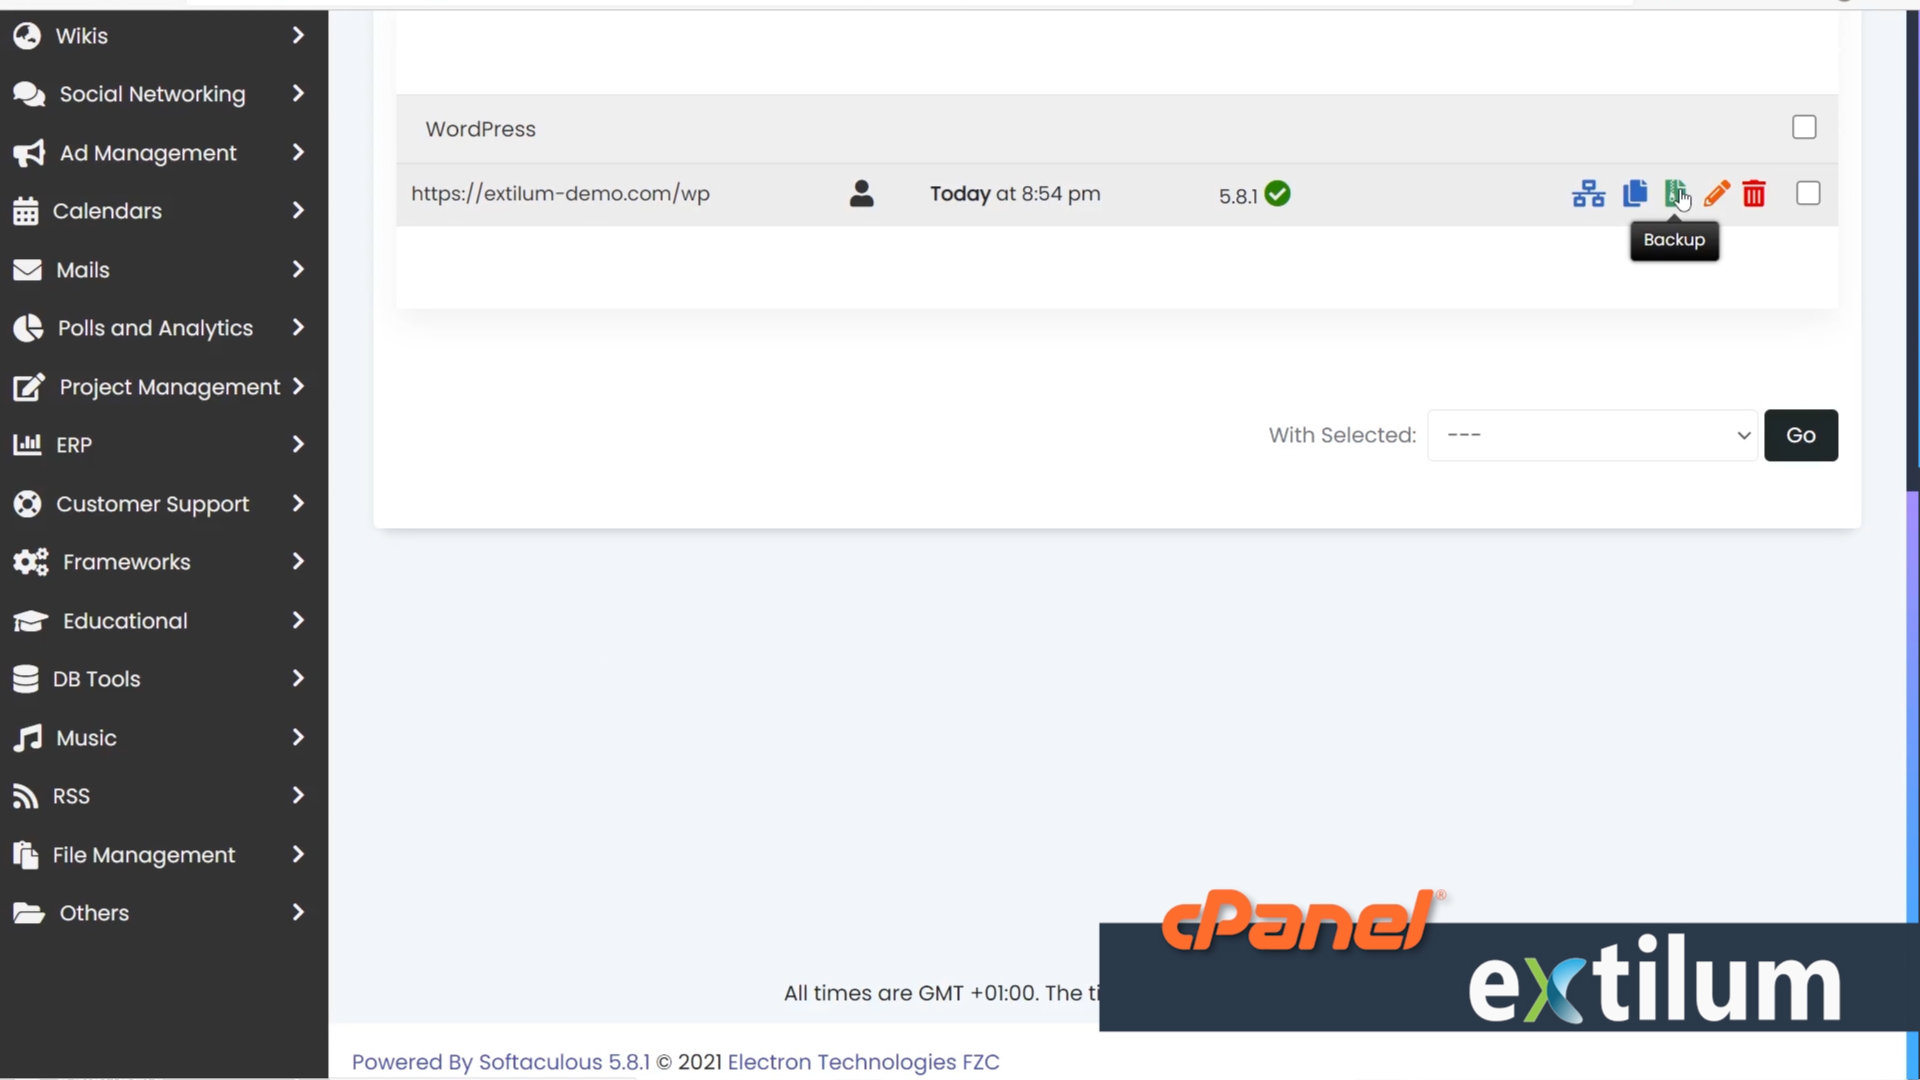
- Script Installations
Click the Backup Third Icon next to the chosen WordPress installation.
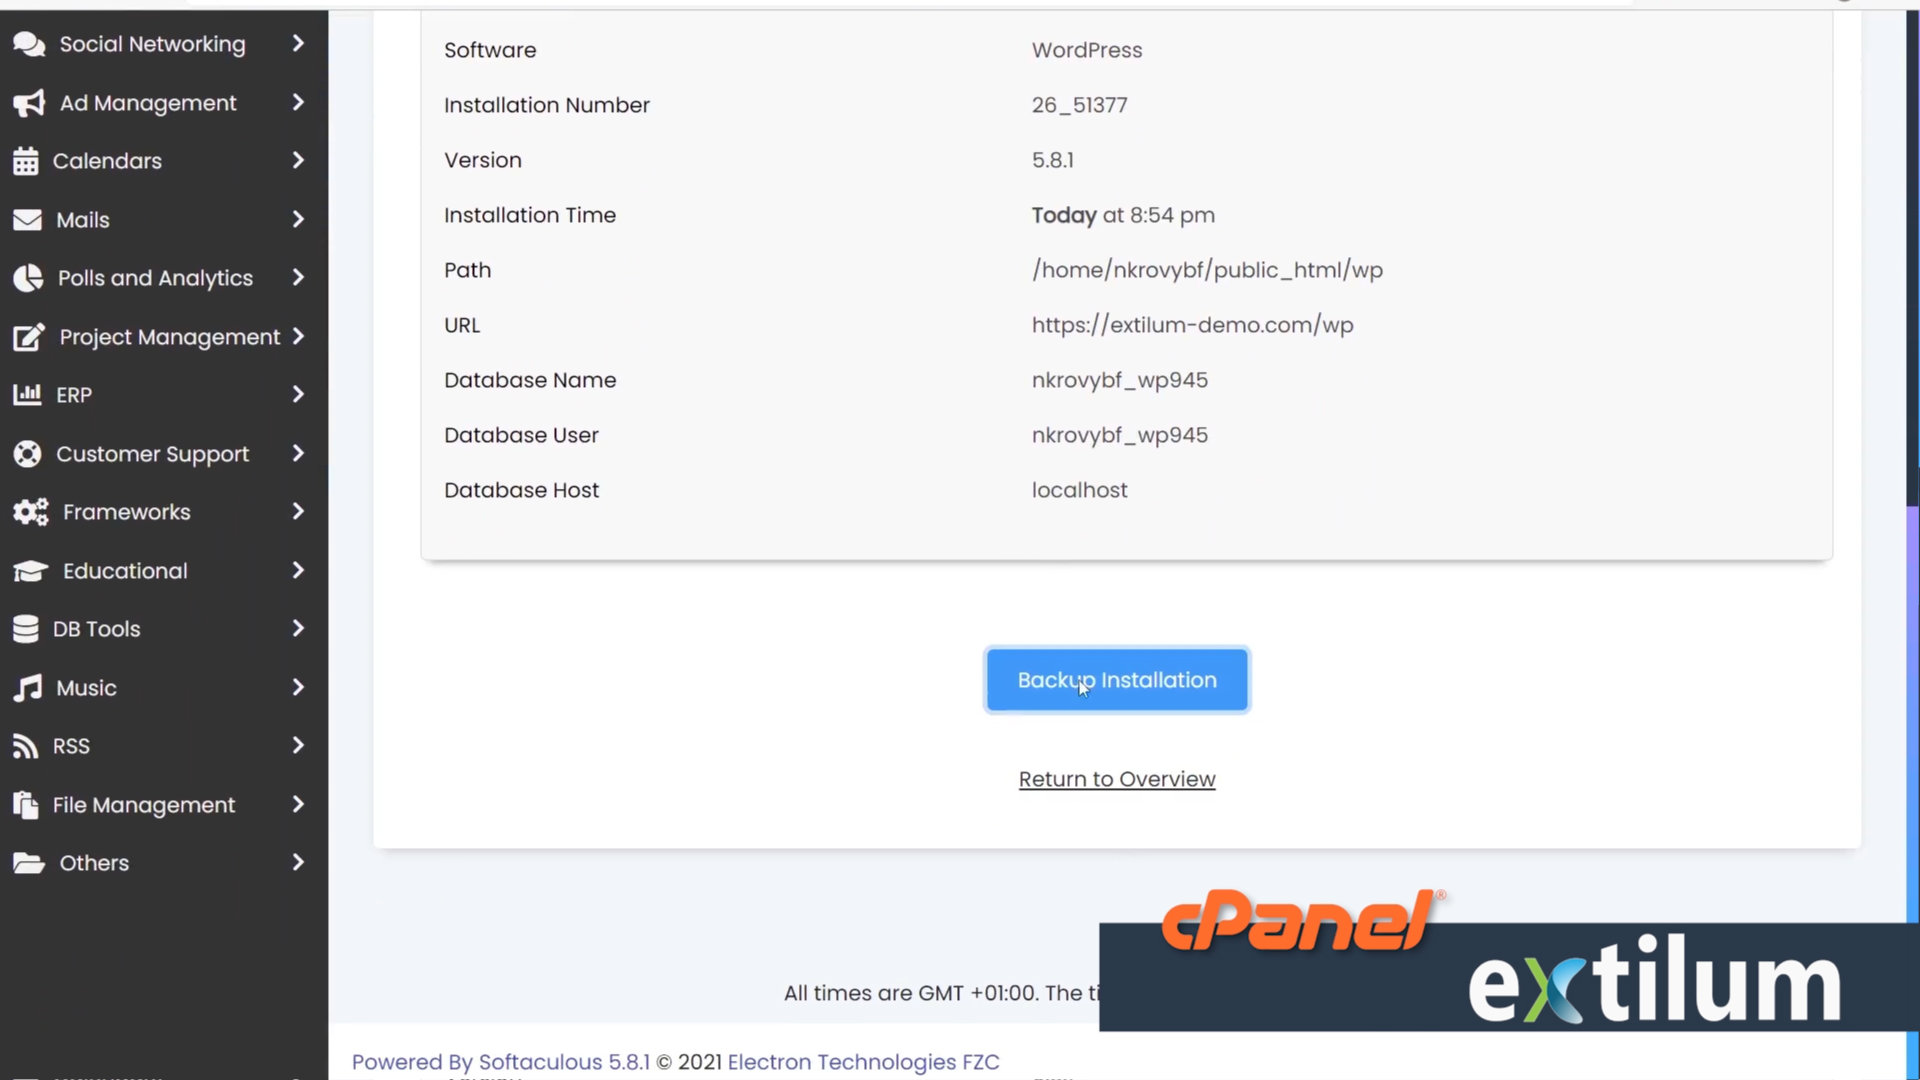
- Backing Up WordPress
Backup Directory
– Check this box to backup the entire WordPress folder
Backup Database
– Check this box to backup the database
Backup Note
– Leave a note if you need to. Like when you are doing backup before the staging process.
Backup Location
– Choose the option from the drop-down menu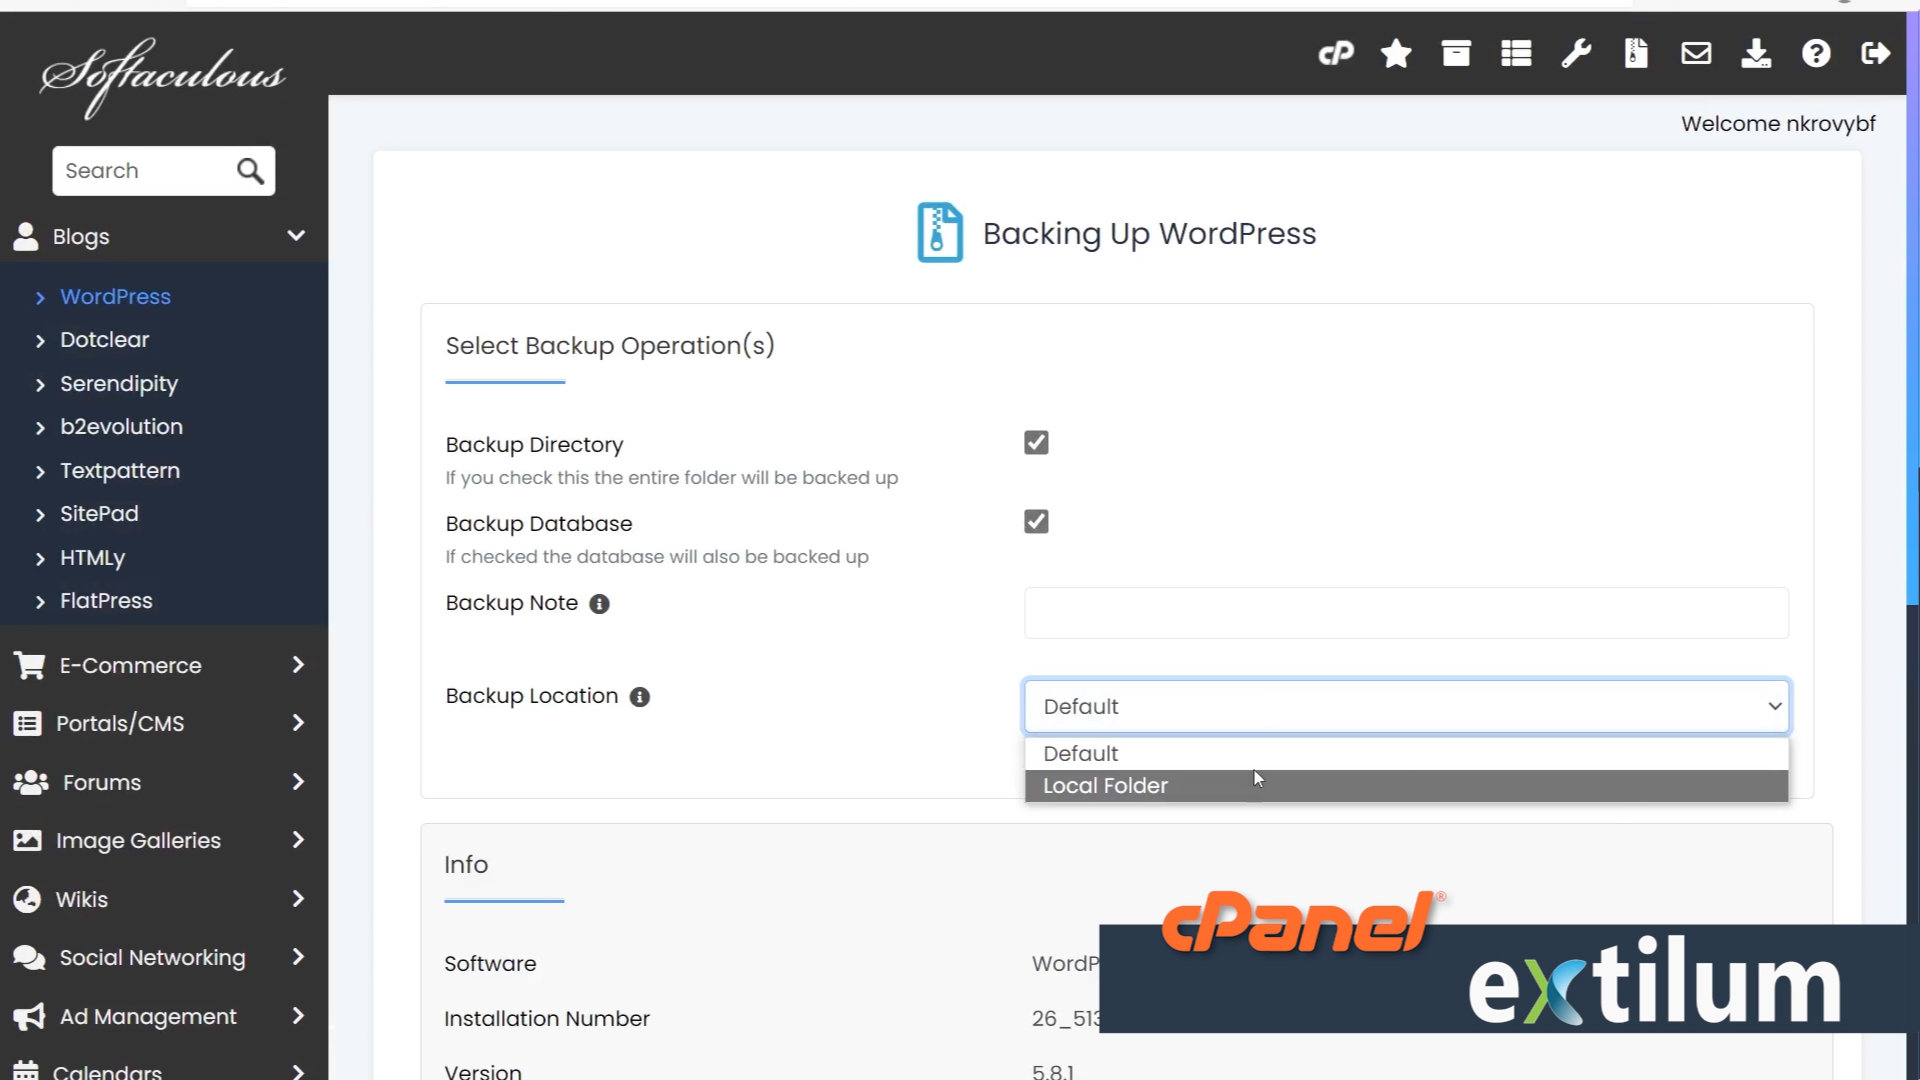
- Click the Backup Installation button
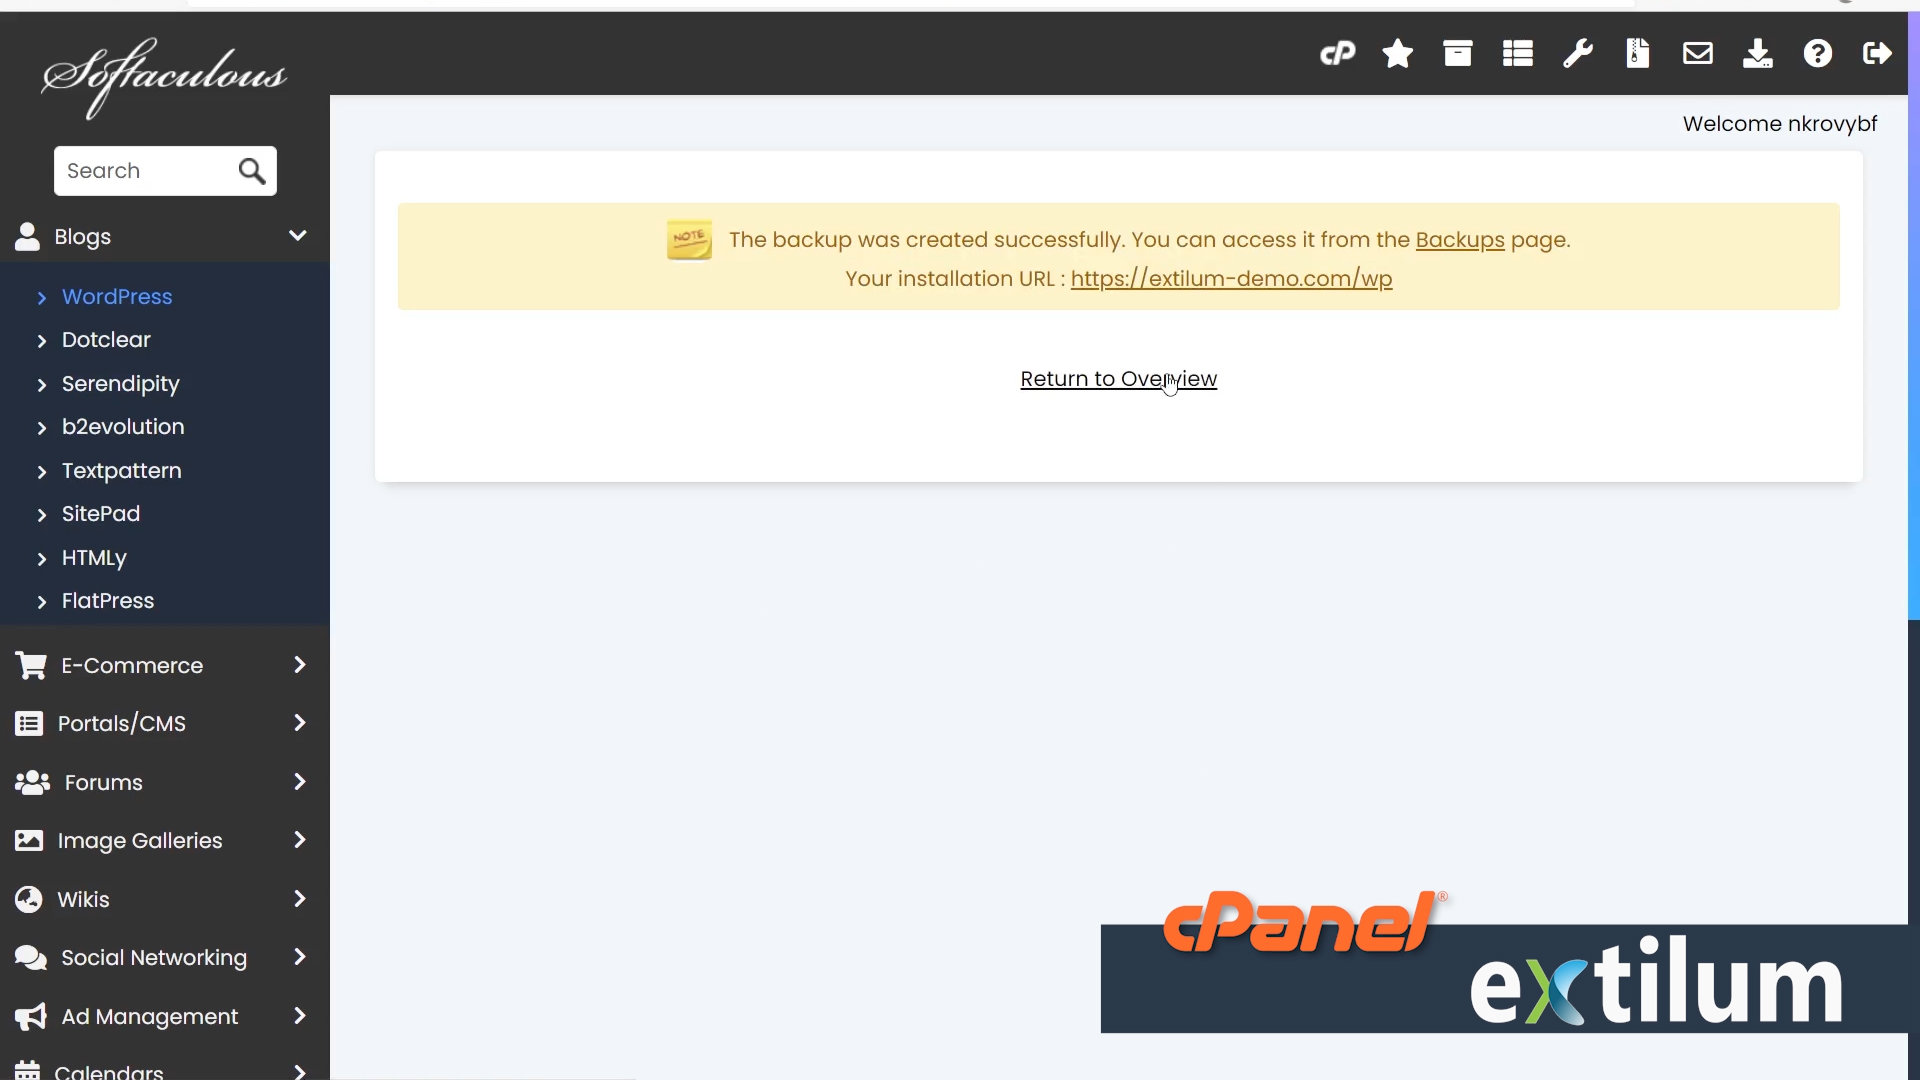
- Wait for the Success Message and click the Return to Overview
- Softaculous dashboard
Click the Installations purple button.
or
Click the third icon Installations in the top Task Bar.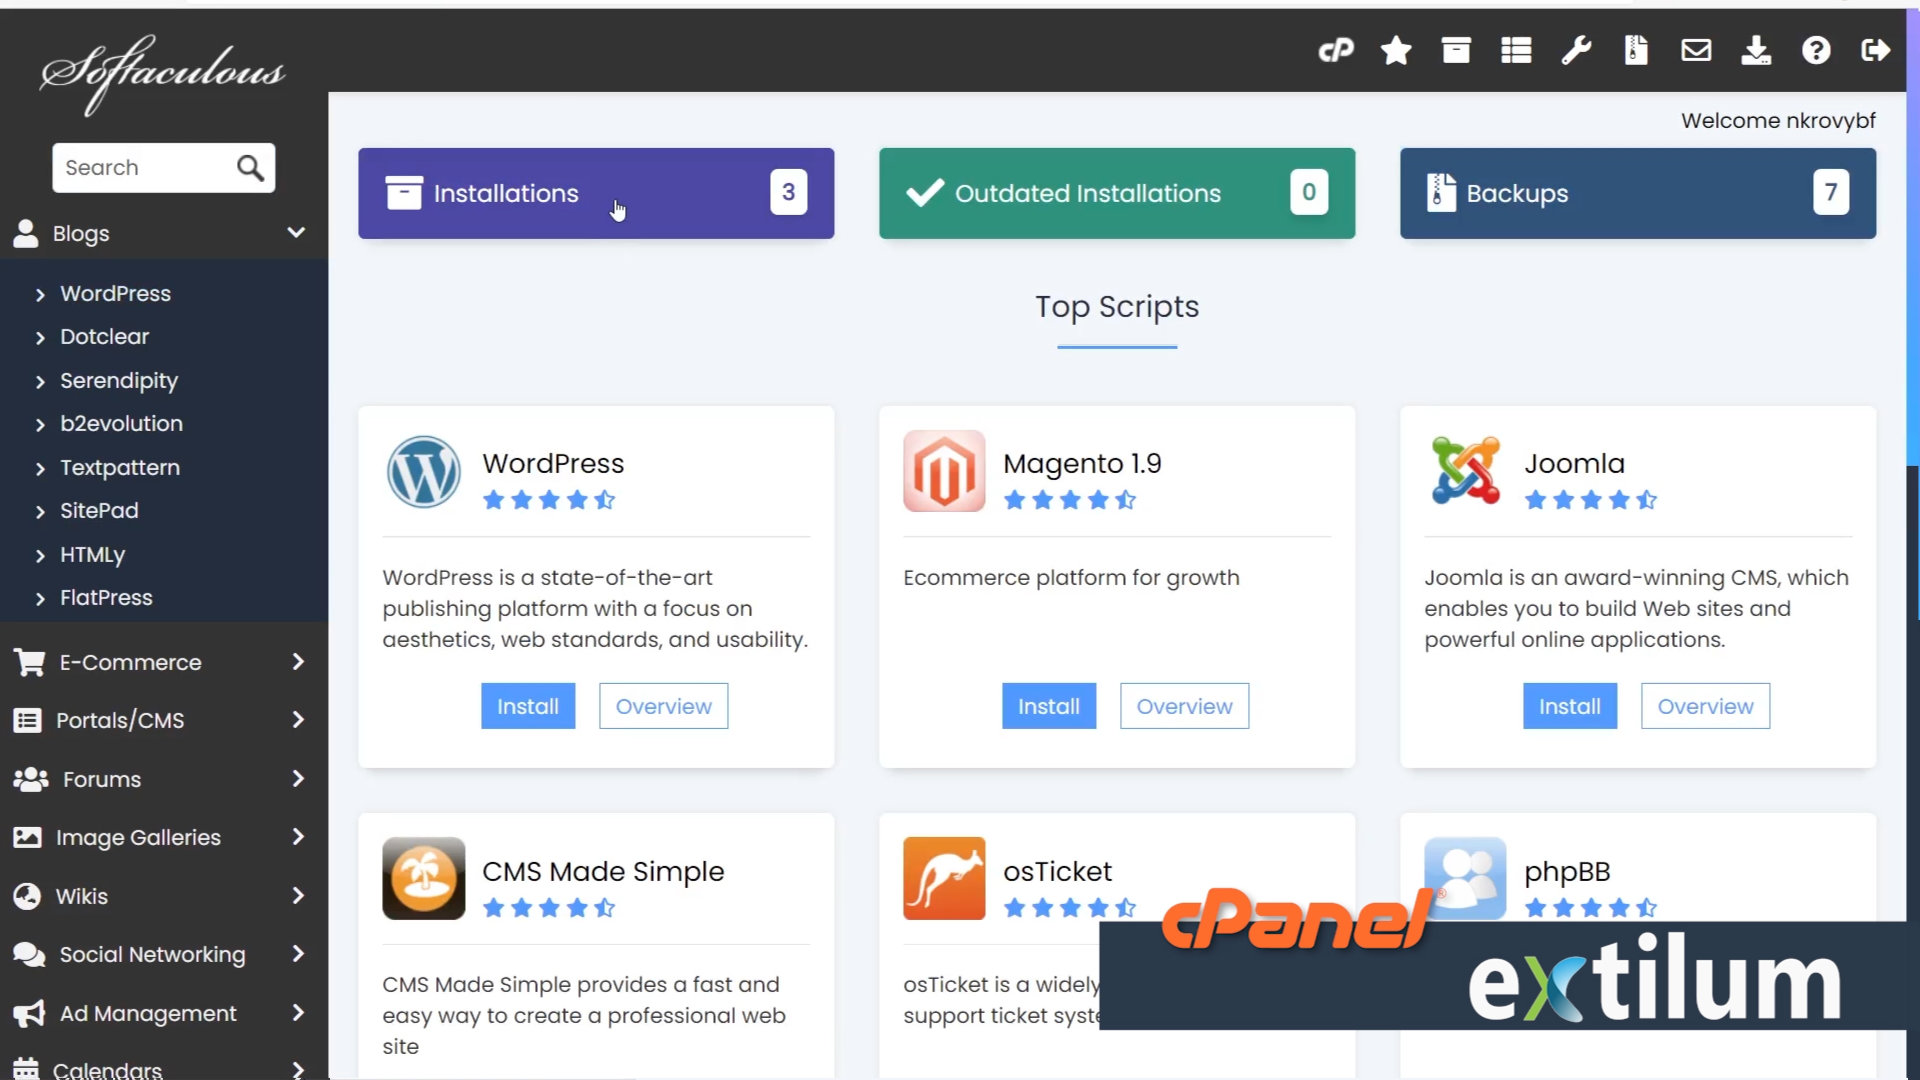
- Script Installations
Click the Create Staging First Icon next to the chosen WordPress installation.
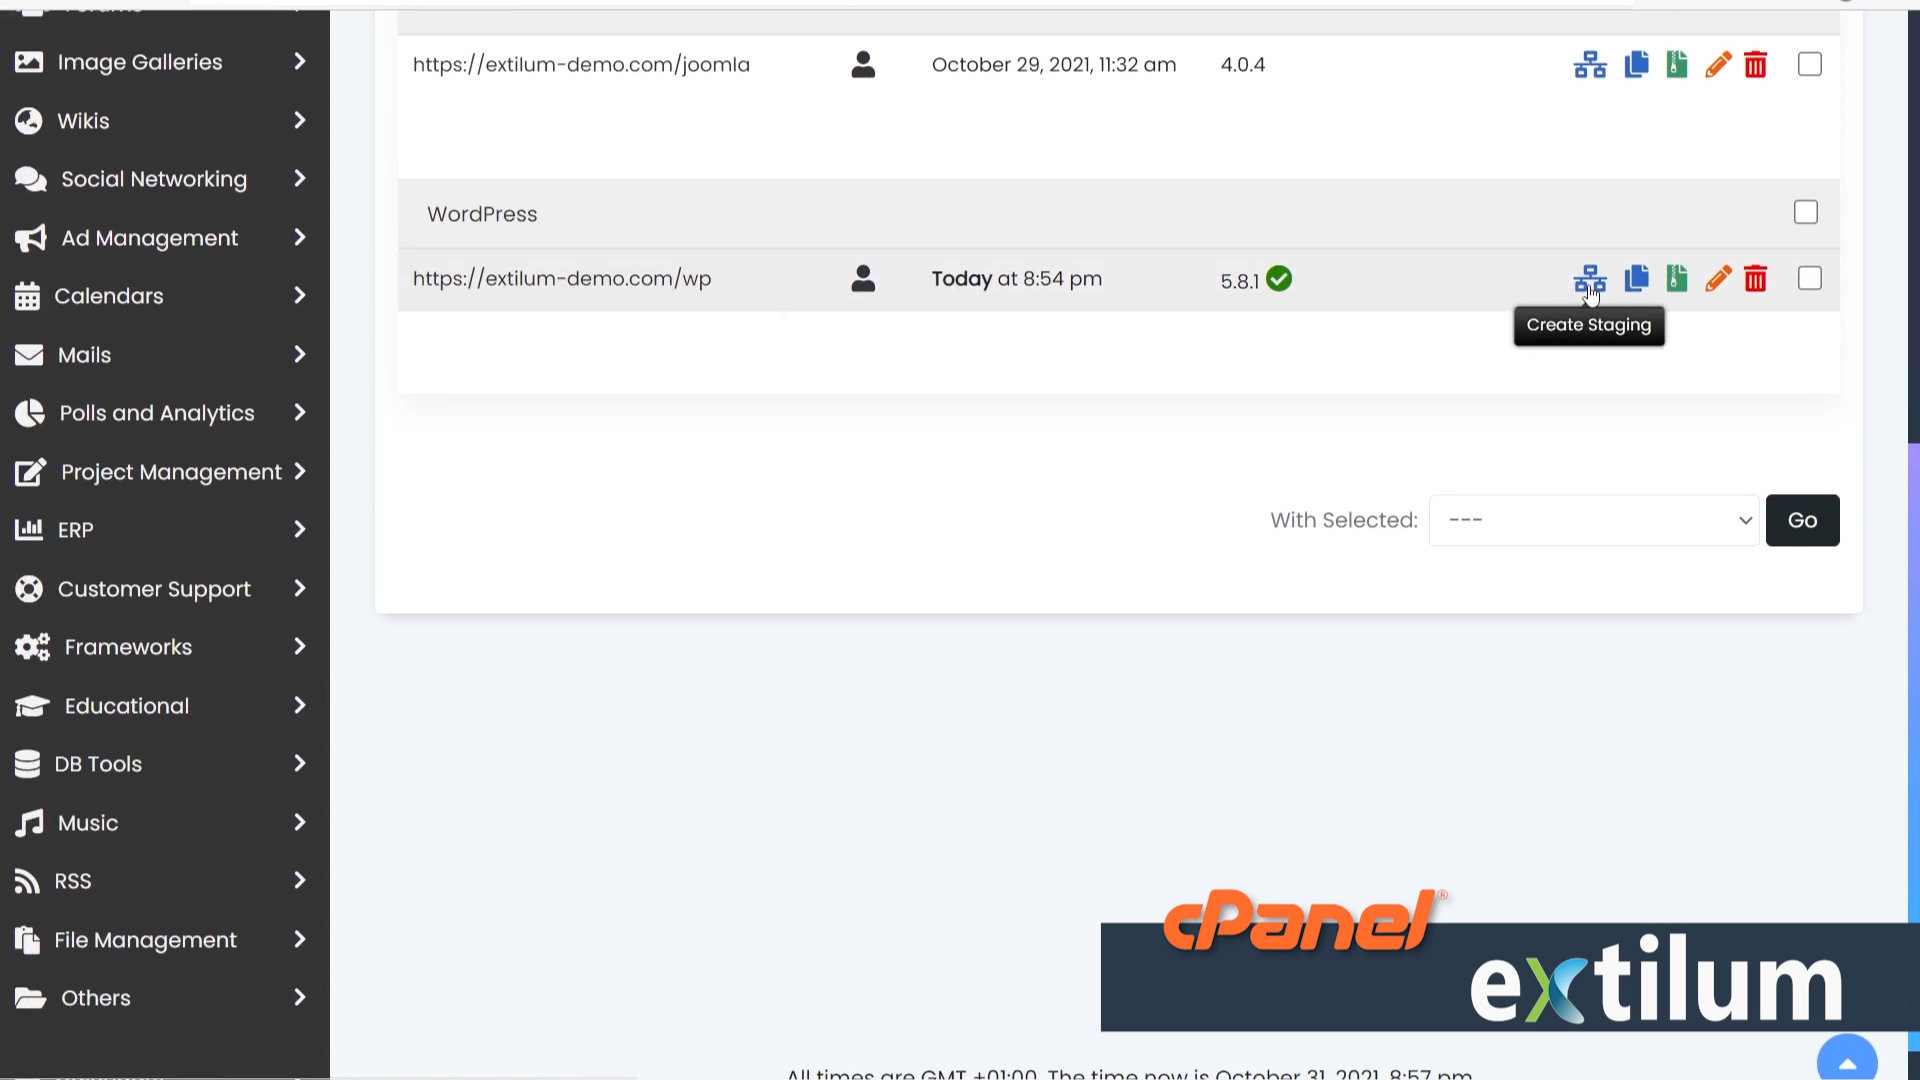
- Details of your Staging WordPress installation
Staging Installation details
Choose Installation URL
Choose the domain/subdomain you wish to install the Staging WordPress.
In the In Directory field, you can specify the root folder for a WordPress installation.
By default, this field is empty, and it allows installing WordPress on yourdomain.com directly.
If you wish to install it to a subfolder, like yourdomain.com/blog, simply type “blog” in this field.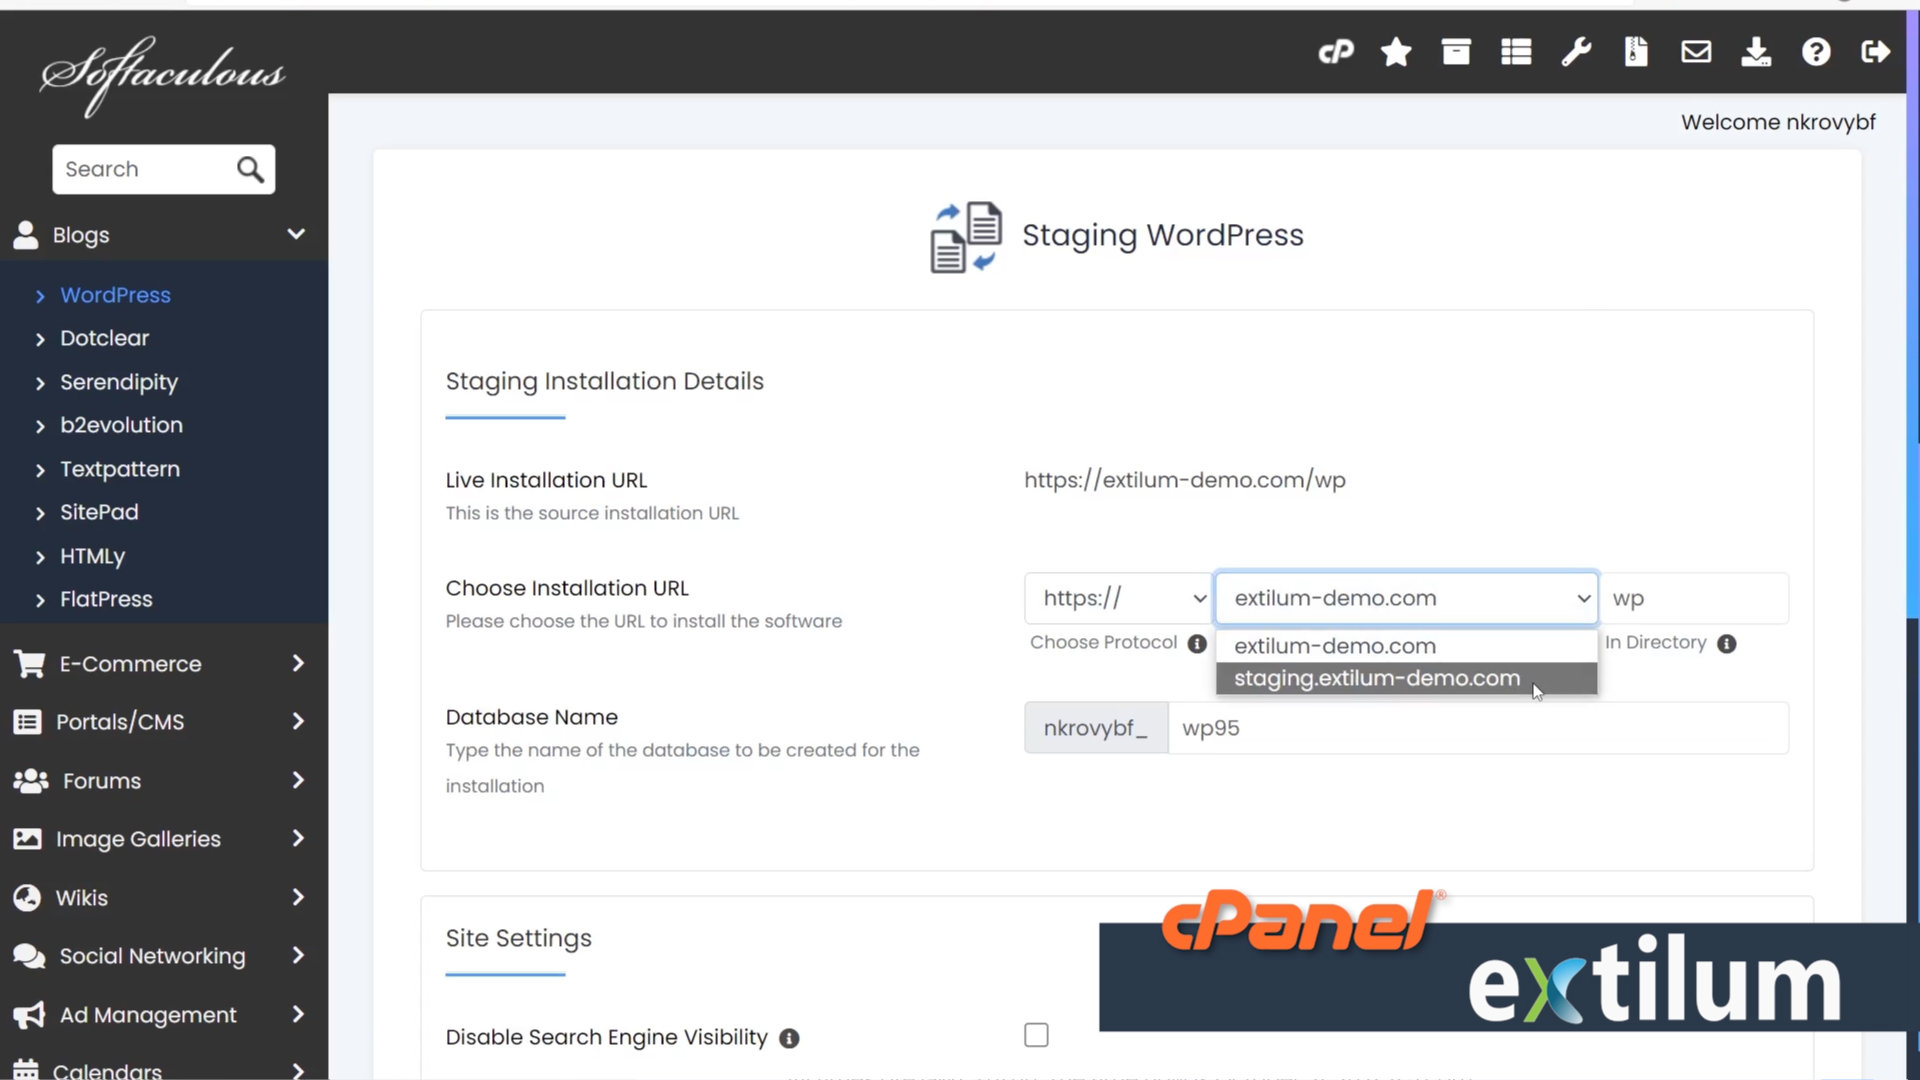
- Site Settings
– Disable Search Engine Visibility – probably best to check this option If you are only using installation for testing
– Site Name – optional
Click the Create Staging button.
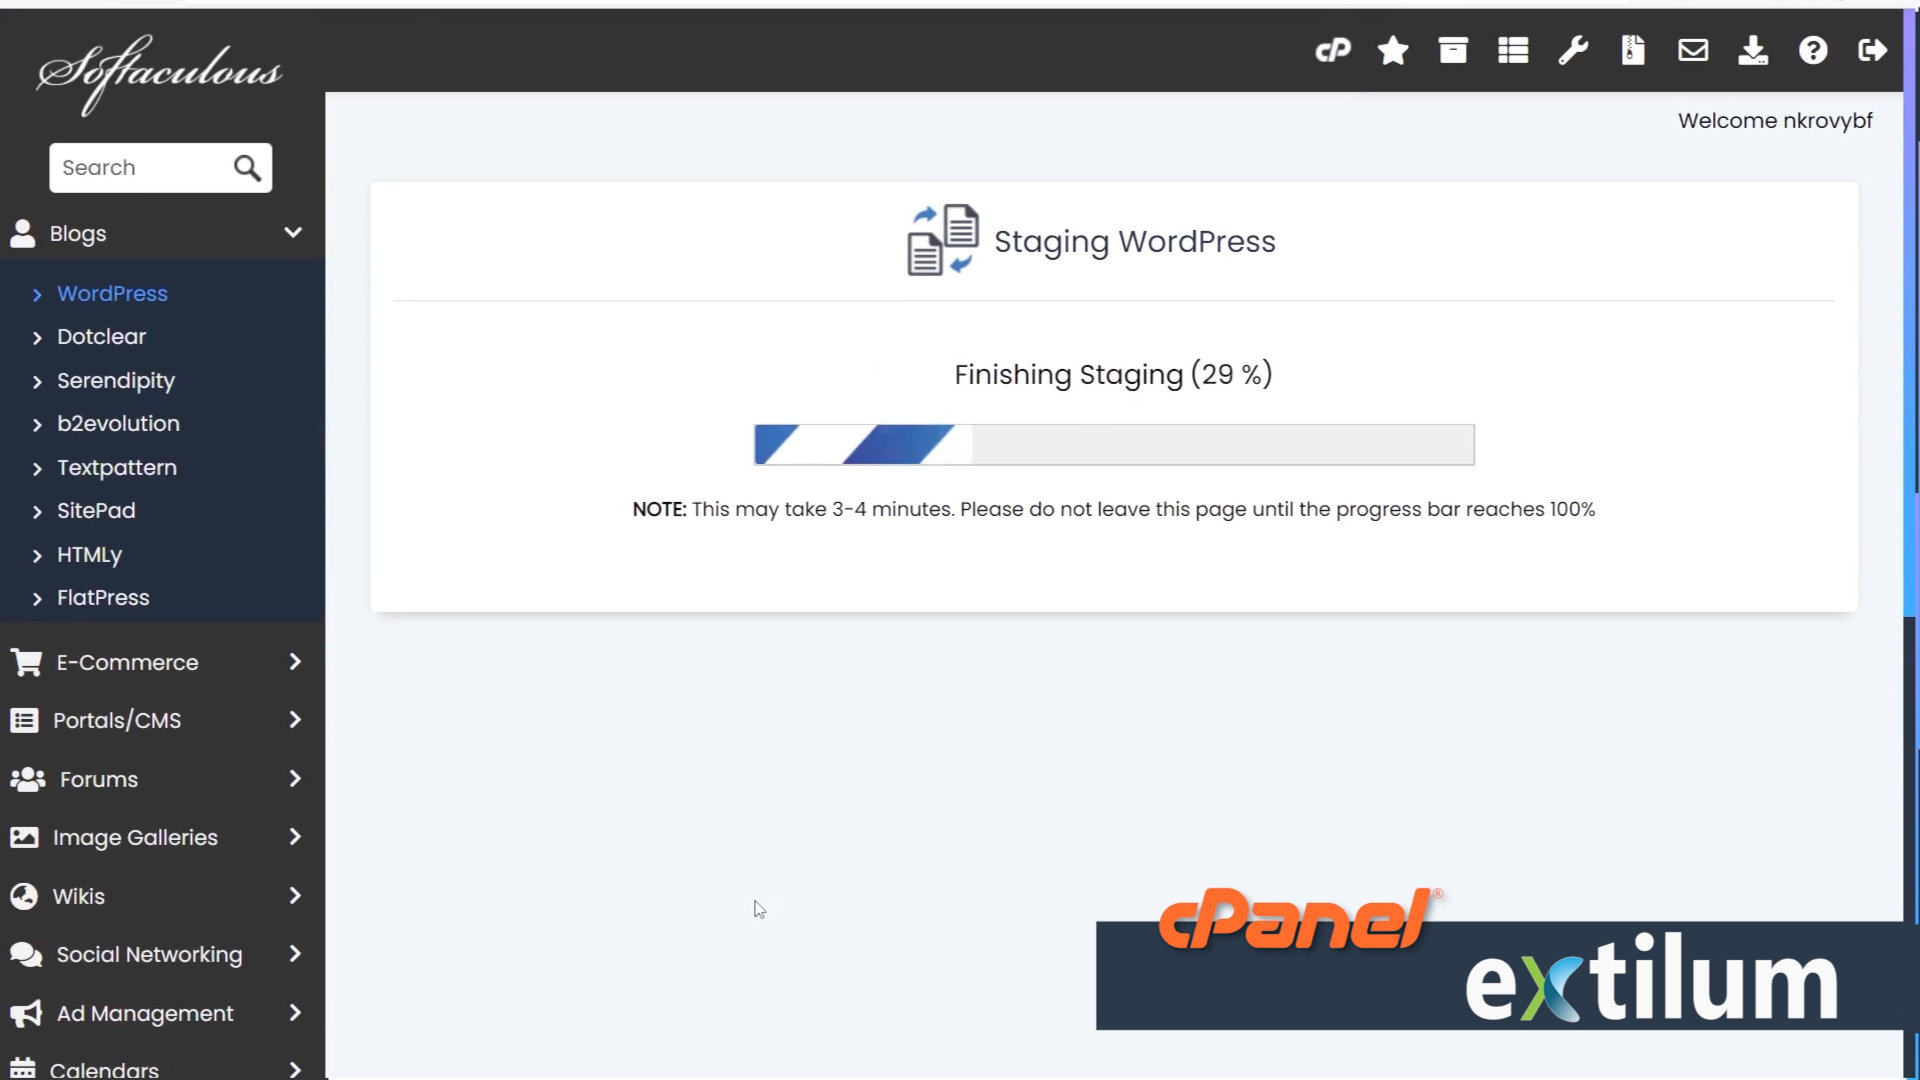
- Staging WordPress Process
- Congratulations
You will see the success message as shown in the screenshot below when the installation is completed.
Access the WordPress admin panel and/or WordPress site.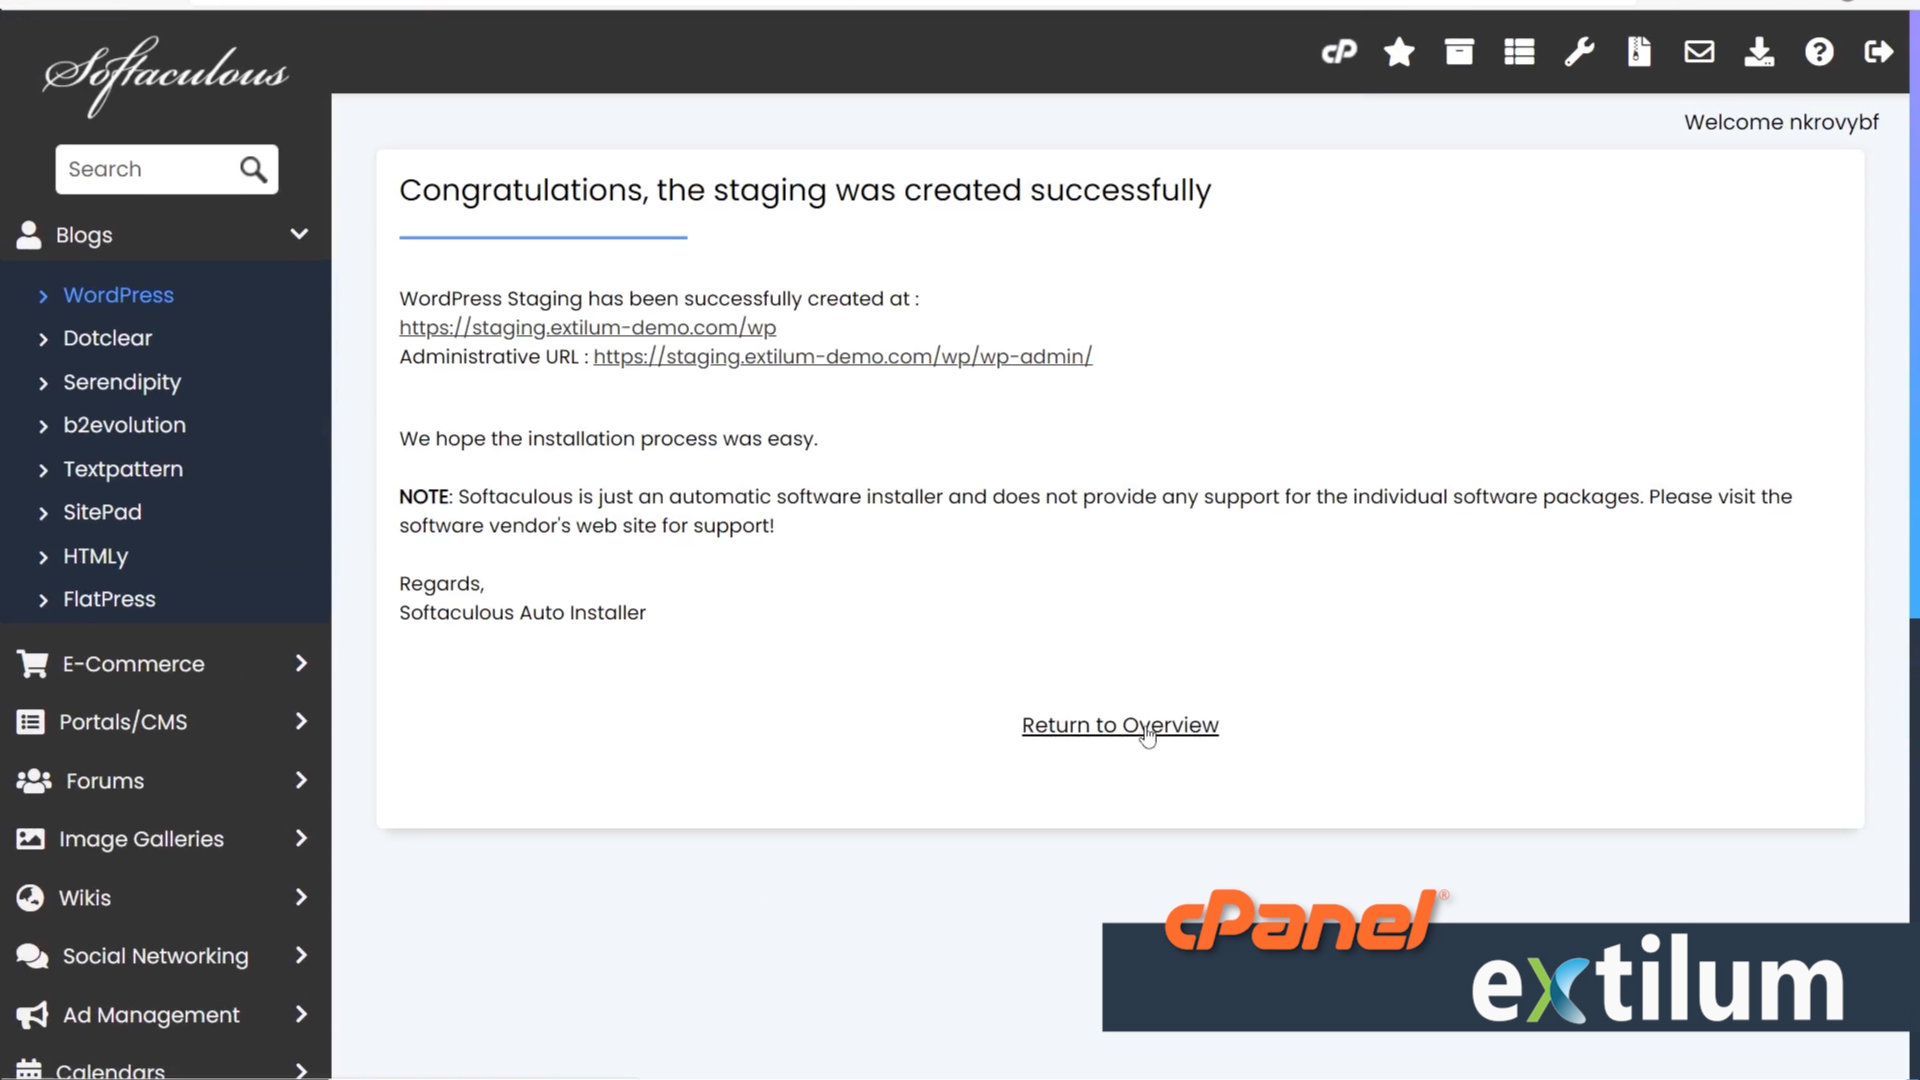
Related Articles
- Install WordPress using Softaculous – cPanel
- Automatically Update WordPress with Softaculous – cPanel
- Backup WordPress using Softaculous – cPanel
- Manage Backup Location Softaculous – cPanel
- Manage WordPress Automated Backups Softaculous – cPanel
- Restore WordPress Backup using Softaculous – cPanel
- Clone WordPress using Softaculous – cPanel
- Push WordPress From Staging to Live with Softaculous – cPanel
- Remove WordPress using Softaculous – cPanel
0 out of 5 stars
| 5 Stars | 0% | |
| 4 Stars | 0% | |
| 3 Stars | 0% | |
| 2 Stars | 0% | |
| 1 Stars | 0% |